Lumen's Birthday Jamboree!

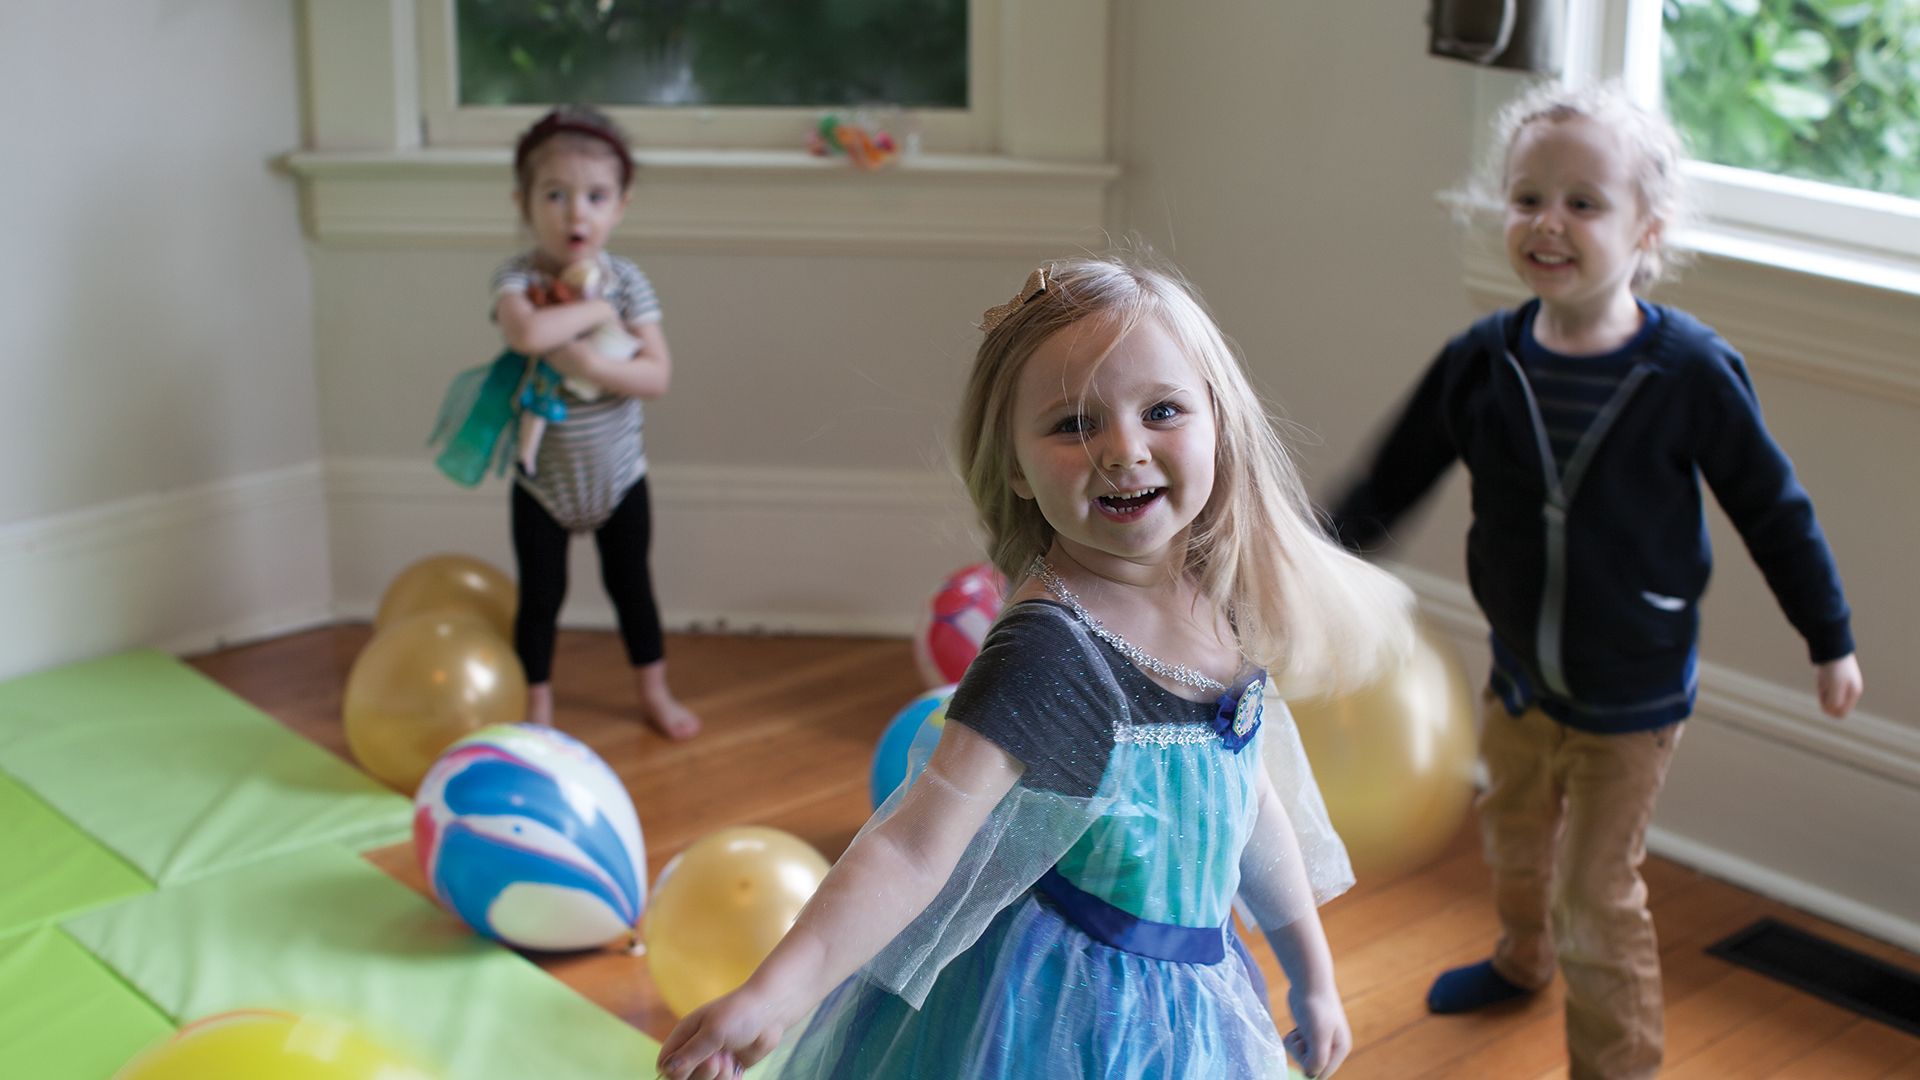
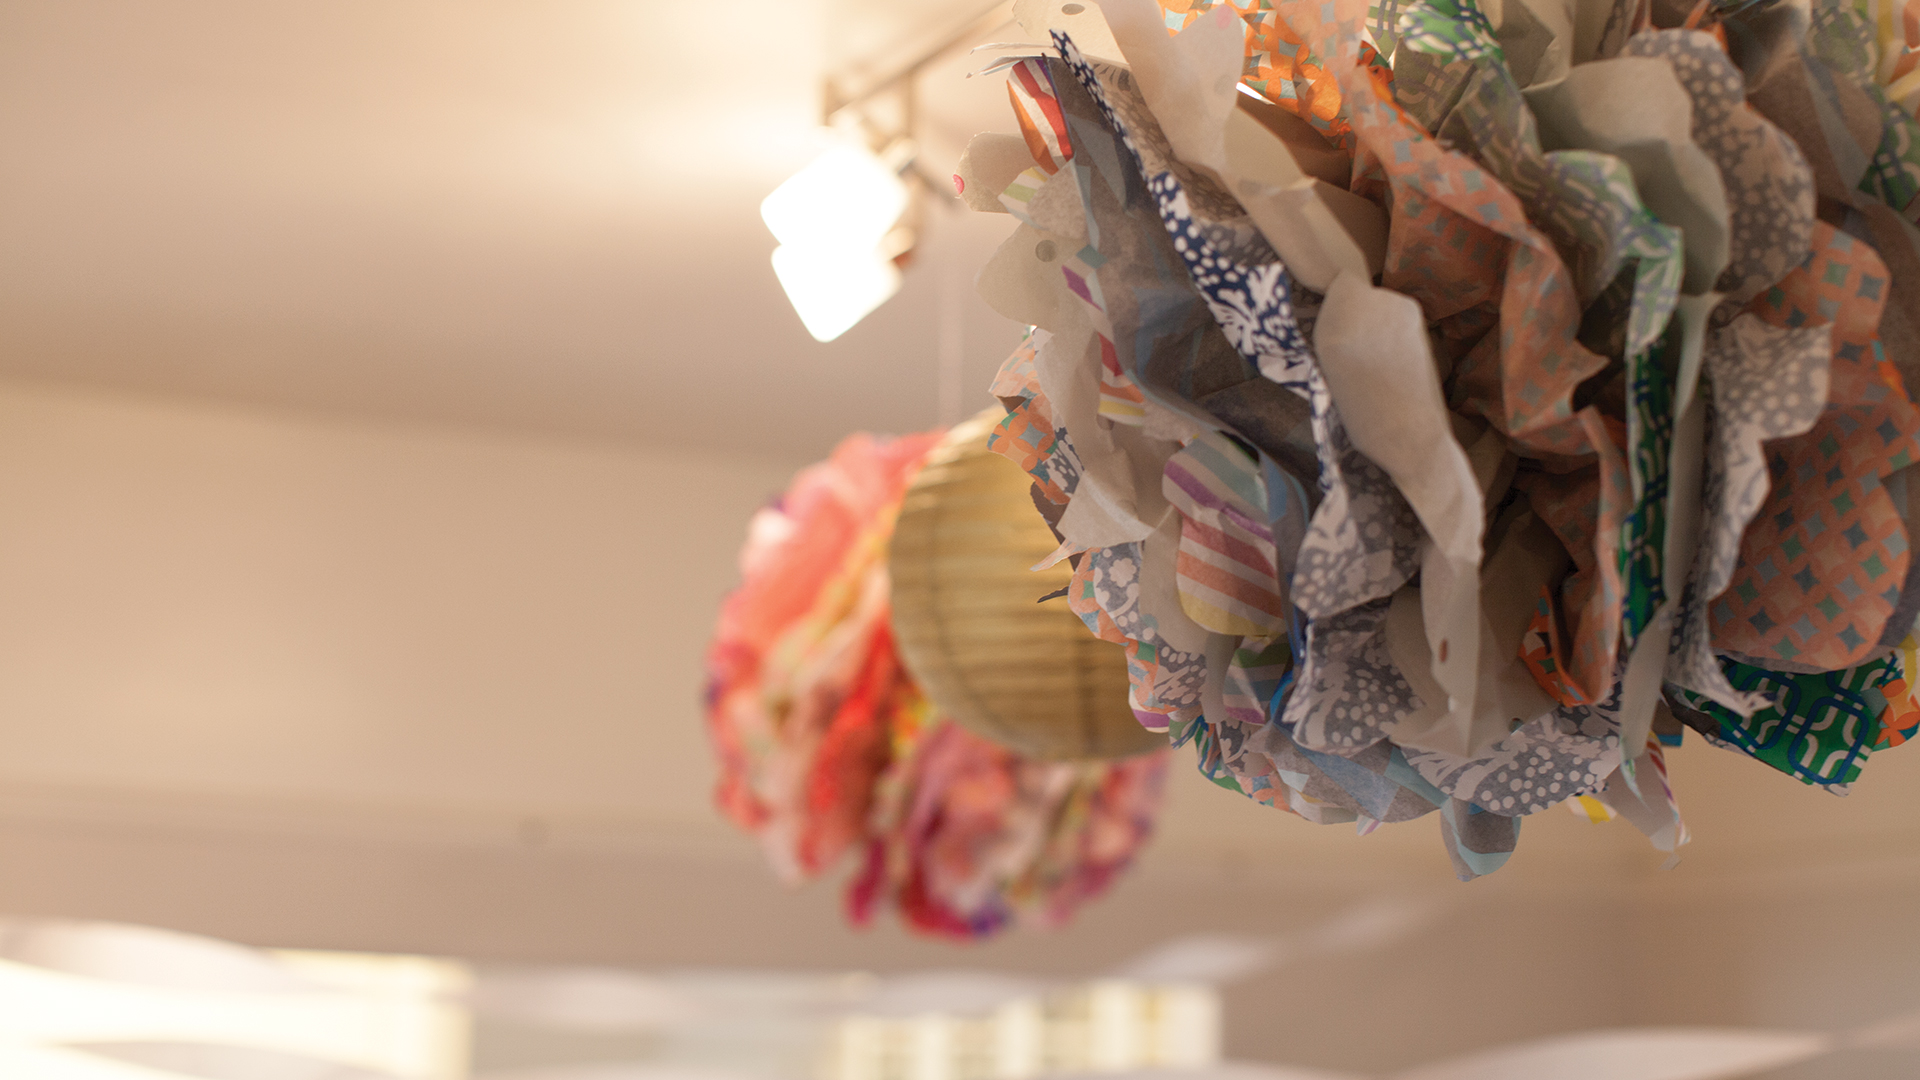
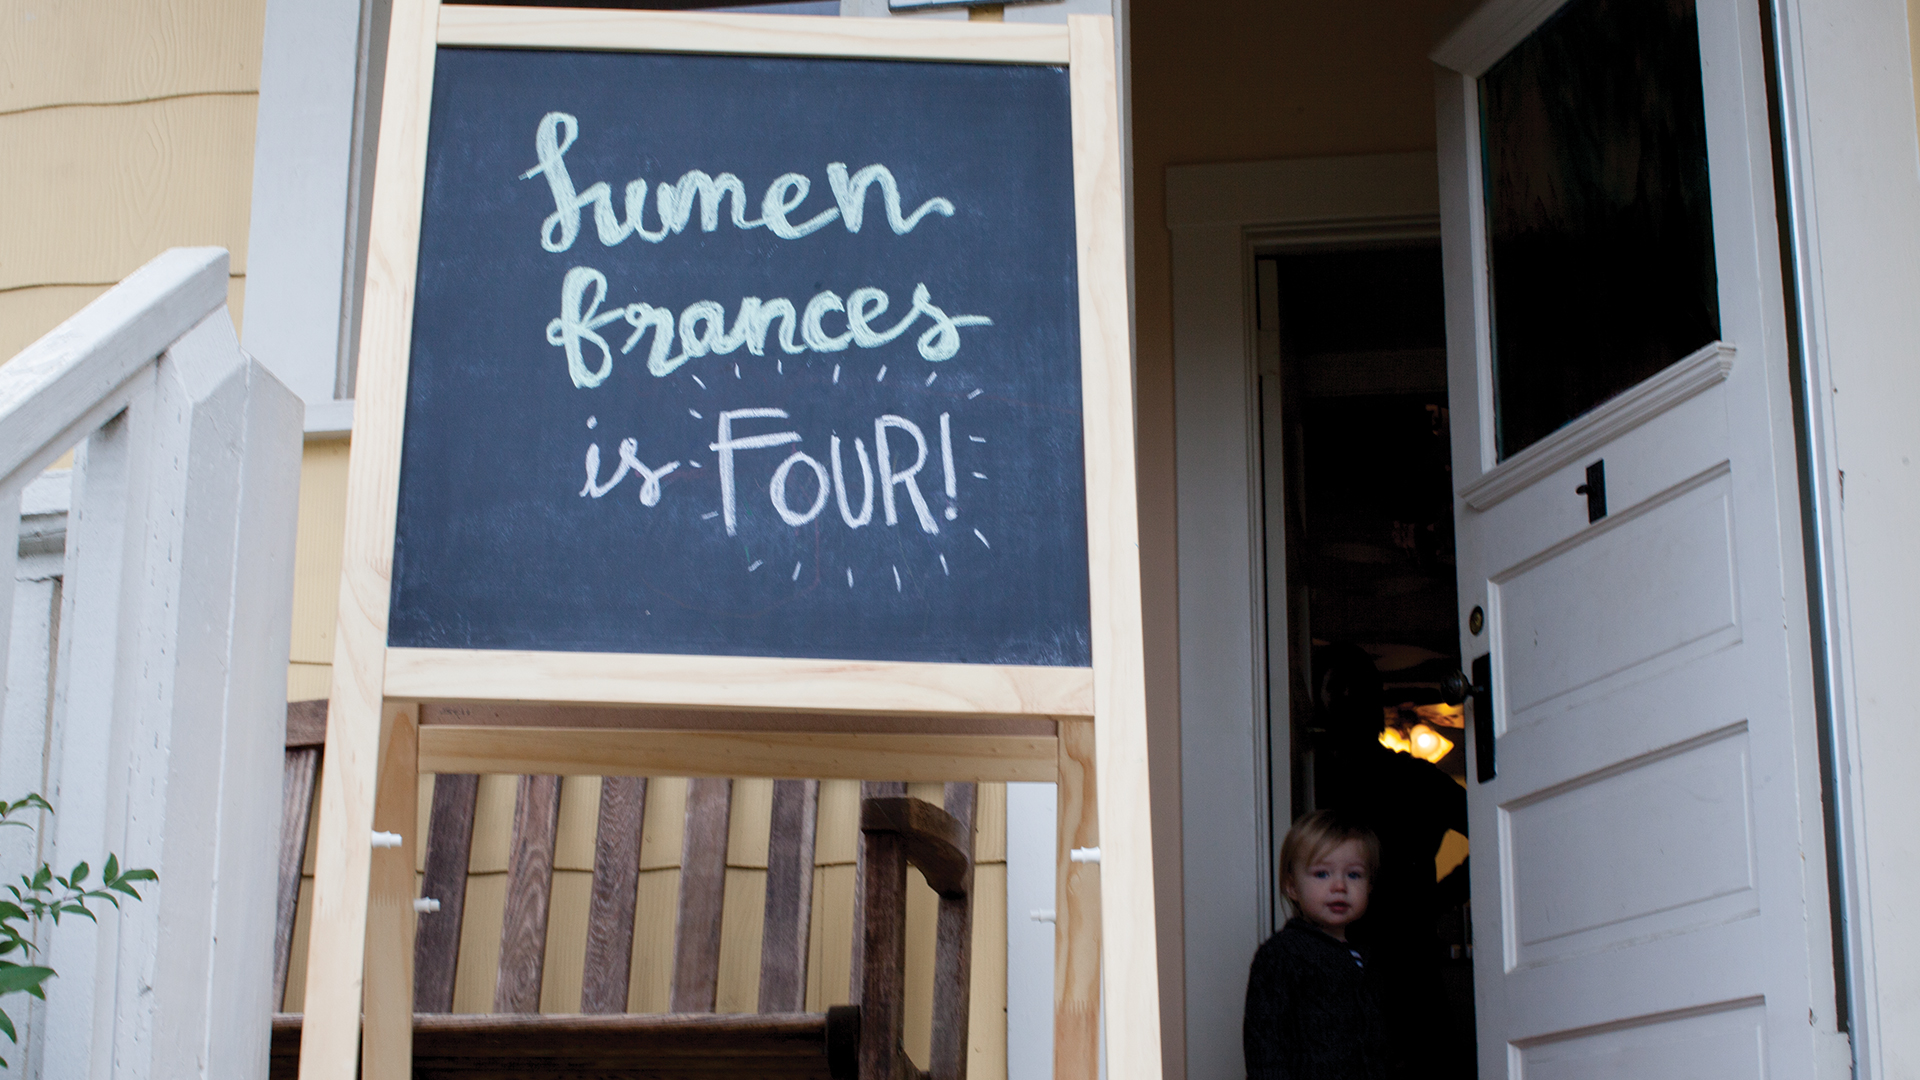
Last weekend, we threw Lumen a really special party for her fourth birthday! With her birthday being only a week after Christmas (and 3 days before her brother's birthday), we had a hard time coming up with fun ideas that would set her day apart. And with the weather being so cold, our options were even more limited. So we decided to go with a "gymnastics" theme and just let her and her friends get wild in the confines of our apartment. We cleared out our TV and console, couches, coffee table and rug from our living room, rounded up some tumbling mats, a balance beam and play tunnel and went from there! Considering the rental of an indoor play space runs about $200 and gets booked up too fast during the wetter months, we decided we were just better off getting creative with what we had at home. I went to Target and purchased some craft supplies, balloons, a pack of dance ribbons, and some party favor trinkets, which besides the food, was the bulk of our expenses! Hooray for DIY. I'm obsessed with Target's "Hand Made Modern" stuff, which is a really cute line of craft supplies and projects for kids. I got some mixed-print tissue paper to make paper poofs with (is that what they're even called?) and a crepe paper flower making kit. I also used up some of our gold wrapping paper from Christmas to make little origami stars for the table. It may seem like a lot of work, but we were on staycation the week after Christmas and I had plenty of time for these little crafts. Not to mention, the poofs and paper flowers are now resident decorations in the kids room. :)

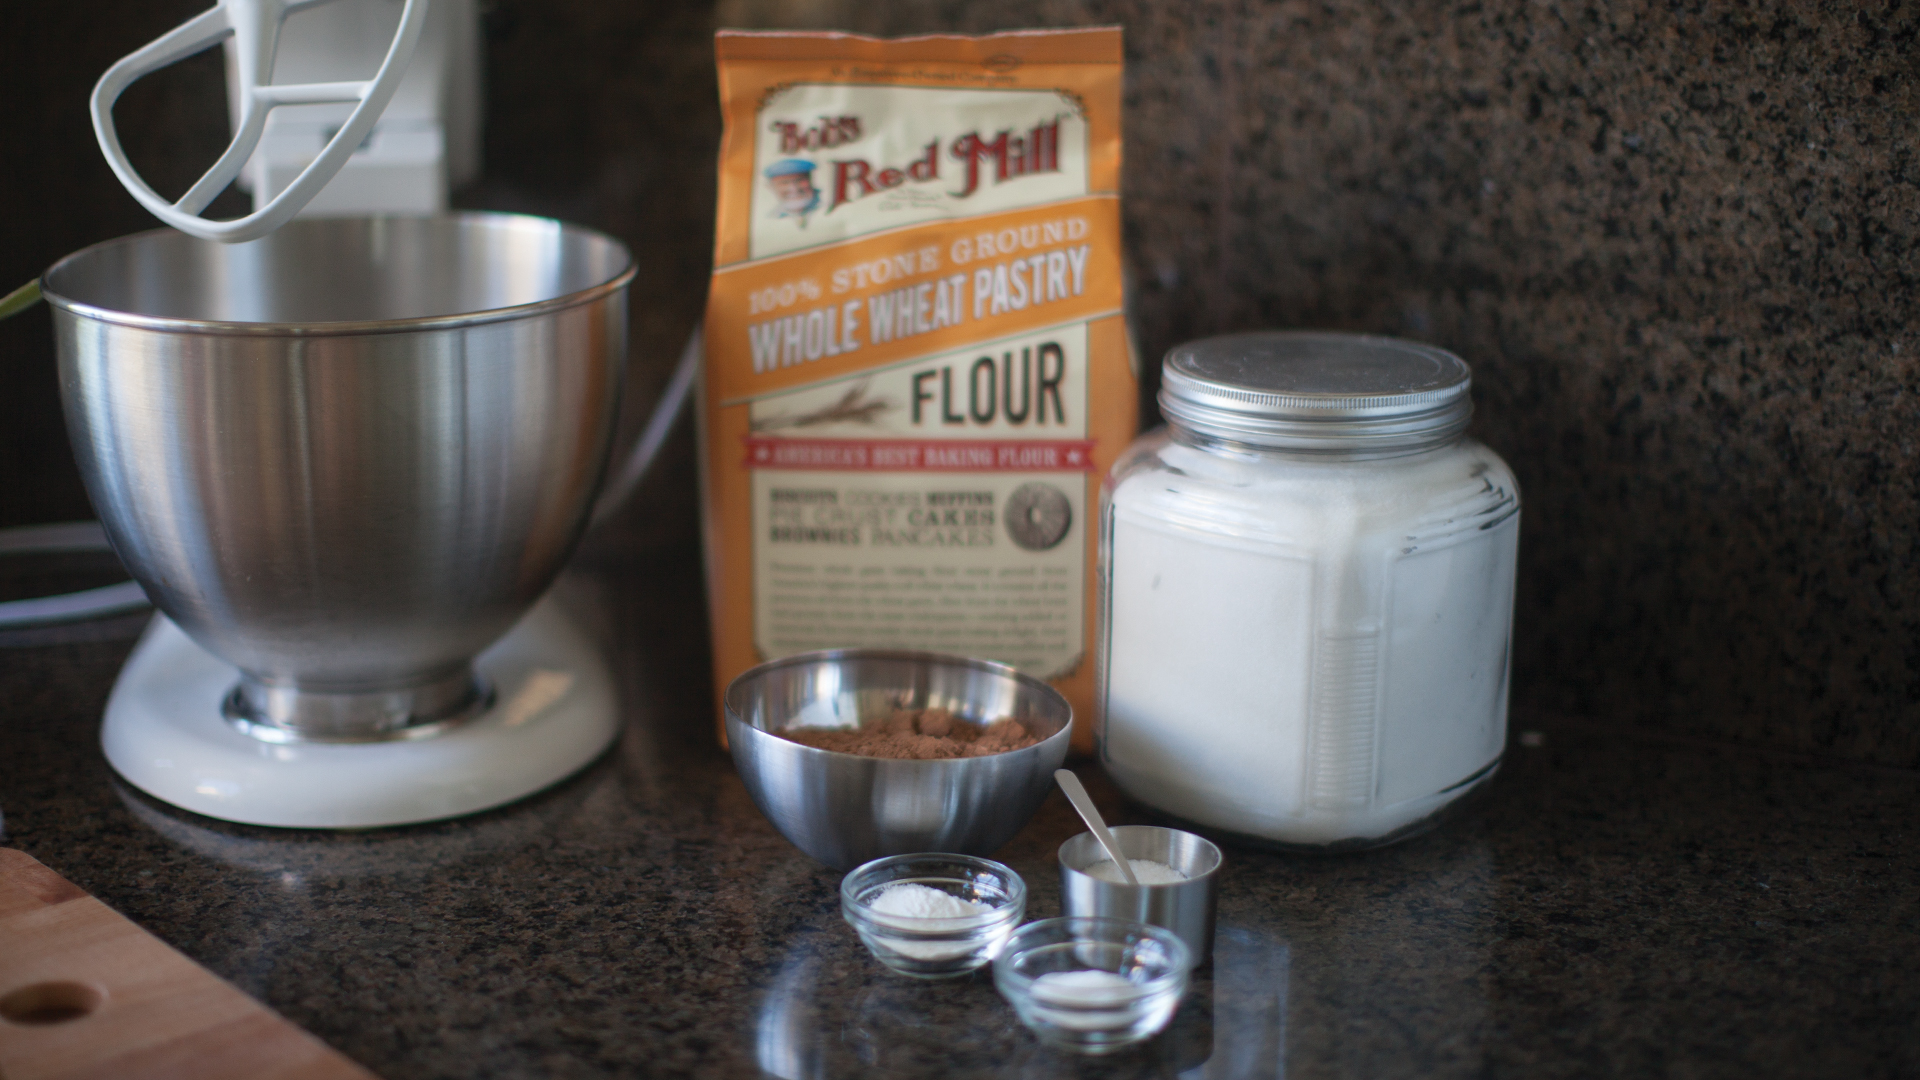
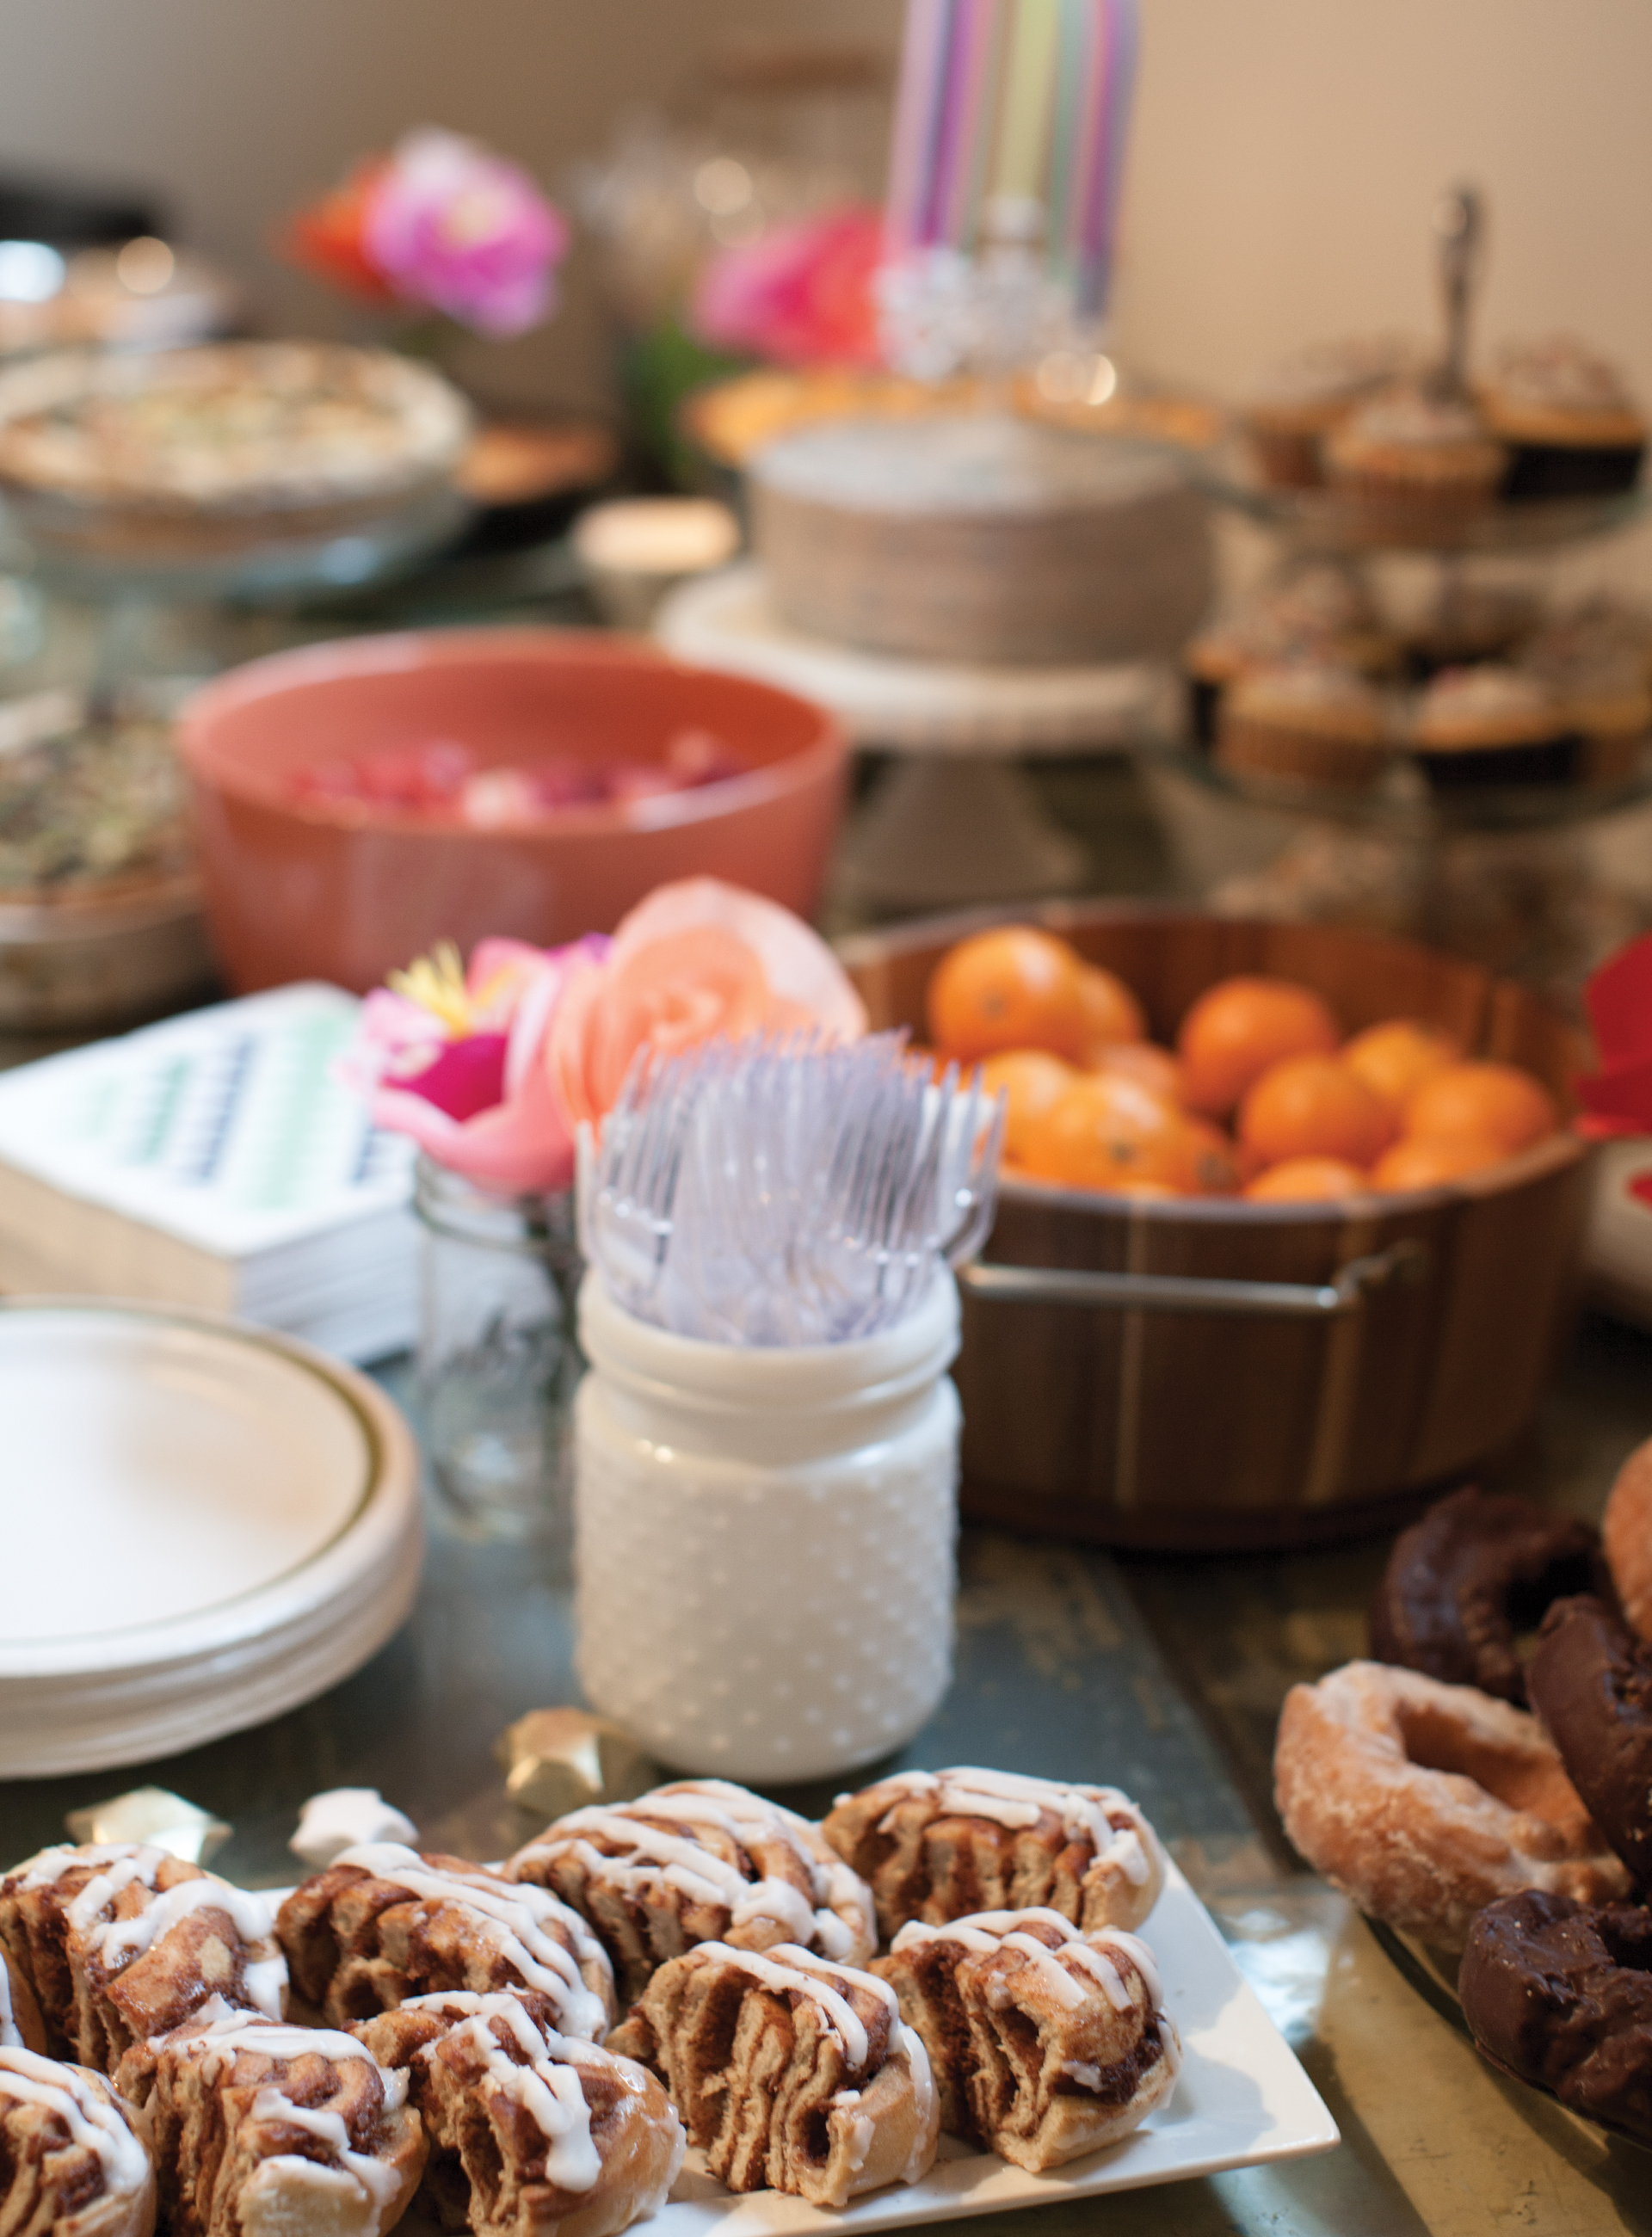
As for the food, we went with a brunch theme. Donuts, cinnamon rolls, quiche, lots of fruit, and of course, cake. What's a party without some delicious, sugary treats and dance ribbons to spin around with?

A friend of mine has a daughter who happens to be a very talented gymnast/contortionist, and we had her come and do some cool tricks for the kids! It was so cute to watch her do something ridiculously bendy and then see the kids get so excited and try to copy her. As for the rest of the time, we put on some music (Frozen, really, what else?) and let the kids jump, spin and dance to their hearts content. 

As for her big surprise, we got her the cutest "big girl" bike from PUBLIC Bikes. She's wanted a bigger bike for a while now, since her knees have been knocking into the handle bars of her little red tricycle. As tricky as it is having both of our kids' birthdays right after Christmas and 3 days apart, one perk I've noticed is the crazy post-holidays sales! This sweet bicycle was half off!  

This party turned out really fun, and there were even zero injuries. Success! :)

Perfect Chocolate Cake

This cake. Where do I even begin? Let me just start by saying I am a huge fan of chocolate cake, and there is always an occasion for it. I've made this cake so many times now that I practically have the recipe memorized, because it is that good. I even used this recipe for my brother and sister-in-law's little wedding cake, and they loved it. It's maybe the only dessert I've ever made that I keep craving on a regular basis (other than Nestle Tollhouse chocolate chip cookies, because, well, duh.) It is dangerously addicting, and I don't even care. I will start running if I have to, just to keep eating cake. And running is the worst! 

The key to making this cake so divine is by achieving a fluffy, moist consistency. I know. Moist is such a gross word, but there is no other word to describe perfect chocolate cake. Please forgive me.

Another key is flavor. You want it rich, but not too rich. Buttery, salty, chocolatey-sweet with a slight hint of bourbon and vanilla. I'm not a huge fan of frosting, and I firmly believe you can kill a cake with too much sugary frosting. If you're a slather-on-the-frosting personality type, I'm sorry, but you're wrong. I mean, you're not completely wrong. Frosting is essential on a good chocolate cake. But take it easy, for Pete's sake. That is why I love a good frosting that's a bit fudgier than it is just sugary. This frosting is a little more buttery and melts in your mouth. I like to think it brings out the flavor of the cake instead of masking it with sweetness. 

For the cake, you'll need:

2 C flour (I used Bob's Red Mill Whole Wheat Pastry Flour)

2 C sugar

3/4 C cocoa powder

2 Tsp baking powder

1&1/2 Tsp baking soda

1 Tsp salt

2 oz espresso or coffee

1 C milk

1 shot bourbon whiskey (optional!)

1/3 C vegetable oil

1/3 C mayonnaise or sour cream (optional! People get so grossed out by mayonnaise. But trust me on this one. It makes it WAY more moist and fluffy. If you choose to omit this ingredient, just up the vegetable oil to 1/2 C)

2 eggs

2 Tsp vanilla extract


For the frosting:

2 sticks butter (1 C), melted

3/4 C cocoa powder

3&1/2–4 C confectioner's sugar

2–3 Tb milk

1 Tsp vanilla extract


Directions:

Preheat your oven to 350F. I recommend convection heat, but it's not necessary! Whenever I don't use convection, I just rotate the pans halfway through the baking process to ensure evenly baked layers. I prepare two 9" cake pans by spraying them with canola oil AND dusting them with a layer of flour. There's nothing worse than putting all the work into the batter only to have the cakes stick when you try popping them out. I know from multiple experiences. 

Take your flour, sugar, cocoa, baking powder, baking soda and salt and mix them well using a paddle attachment in an electric stand mixer, or by hand, ensuring there are no more clumps in your cocoa powder. Once your dry ingredients are mixed, add all of the wet ingredients. Mix on medium to high speed for about 2 minutes, until you see lots of bubbles in the batter. This will make for a much fluffier cake! Make sure you scrape down your bowl and then mix again before adding your batter to your pans. 

Distribute your batter evenly between your two prepared pans, and set them side by side in the oven. I like to pop a baking sheet on the rack below in case of any bubbling over. Bake for 30-35 minutes, or until a toothpick inserted in the center comes out clean. Let cakes cool for about 10 minutes, then pop them out onto a parchment-lined sheet.

Side note. Just in case you thought this was a quick, easy, mess-free experience for me, here is my actual viewpoint. One kid claws my feet, and the other begs for cake batter. In a sea of dirty dishes and sticky counters. I never said it would be easy, but it's most definitely worth it. Trust me.

Just keeping it real, folks! Moving on...

While the cakes bake, start your frosting. Add your cocoa powder to your mixer and pour that melted butter over it. Now your vanilla. Now, mix well to combine. Add your sugar and milk to the mix, alternating between the two in small amounts, until you've  reached a thick, creamy consistency. Beat on a high speed for about a minute.

Apply a thin layer of frosting in between your cakes, stacking them. Frost your cake to your liking! I like to use a frosting bag with a wide tip to swirl a layer over the top and squiggle a layer around the outside, ensuring evenly-dispersed frosting over the whole thing. Turning your cake while you work, smoosh that frosting down using a butter knife to work it into the sides and top. I like to sort of swirl and smash, using a "homestyle" frosting method that's quick, pretty, and forgiving of any mistakes. 

Whatever it looks like, it's just bound to taste incredible. Now eat dat cake!

sh_blog_chocolate_cake_12.jpg